Building AltProc Studio + Darkroom (on my own with limited budget)
- Alternative Processes

- Nov 3, 2024
- 3 min read
After years of makeshift workspaces, I’m thrilled to finally share that I’ve carved out my own dedicated space for alternative photographic processes—a dream that took patience, creativity, and resourcefulness. Here’s a deep dive into how I transformed a modest garage into a multifunctional studio and darkroom space, on a limited budget but with maximum impact.

The Vision: From Garage to Studio
For years, I didn’t have a designated studio, creating whenever and wherever space allowed. But for processes involving chemicals, such as cyanotype or silver-based darkroom techniques, having a stable, dedicated space is transformative. So, I decided to turn an underused 40-square-meter garage into my studio.While not a luxury loft or a countryside barn, the garage offered the potential I needed—ample space, peace, and a blank slate for transformation.

Flooring Transformation
The original dark terracotta floor gave the space a drab, unwelcoming feel, so flooring was my first challenge. Initially, I planned to tile the space. However, I learned the hard way that tiling was pricier than expected (funny thing, we read the price wrong and though it was cheaper, so we actually drag the tiles all the way to the till and returned them in a walk of shame). In the end, I opted for a more budget-friendly option: resin floor paint.
Product: I used Epodex resin paint, which required two coats to achieve a durable, smooth finish. This isn't sponsored.
Cost: Approximately €250 for the 40-square-meter space, creating a bright and practical surface ideal for a working studio.
Quality over time: It's been 6 months since I've been using the studio intensively and I can say that it's holding up pretty well. It's quite easy to clean. One downside would be that while water doesn't stain it or anything it leaves behind some halos if left there and not dried. This isn't too much of a dealbreaker for me since it's my messy space and I could not care less for stains and halos.

Organization and Furniture
Shelving and Storage: I repurposed shelves and storage units from other parts of the house, which kept costs down and added functionality. Each unit was positioned for easy access to supplies, tools, and materials. I also got a bunch of things from the side of the road, like an ikea open cabined that I repainted.
The Search for a Table: A sturdy work table was essential for my projects, but I quickly discovered that even second-hand tables have become quite costly. After extensive searching, I finally found a solid table for €200, which, while a bit steep for an old table, became the heart of my workspace and perfect for workshops with up to 6 people.
Wall Repaint and Curtains: To enhance lighting and atmosphere, I repainted the walls white. Black curtains section off a dedicated darkroom area in the back, adding a touch of professionalism to the space.

Darkroom Area
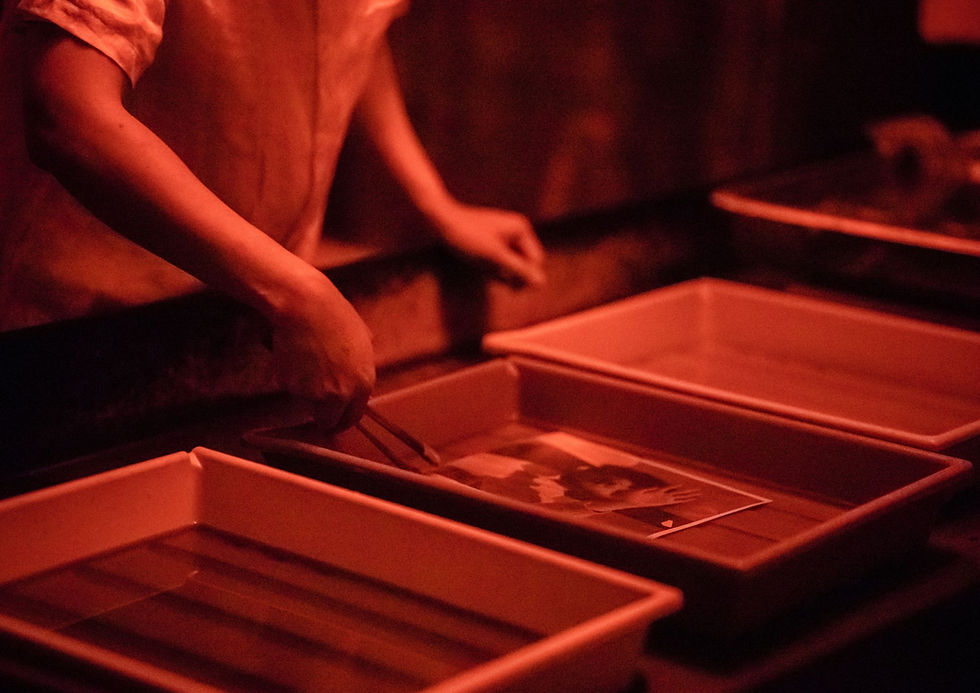
This area took a bit longer to perfection. At this link you can find a breakdown of all the darkroom costs. I only added a proper table which costed 150€ (was gifted to me!)

Building a Studio Darkroom: The Cost Breakdown
Turning this garage into a usable studio took a careful budget and a lot of patience. Here’s a quick cost summary:
Resin floor paint: €250
Studio Table: €200
Miscellaneous (shelves, repainting, plants, etc.): €200
Darkroom Curtains: 69€
Darkroom tools miscellaneus: 104€
Darkroom Table: 150€ (gifted by friends)
Total: Approx. €900-€950
Not bad for a complete transformation! Building a studio + darkroom on my own wasn't easy: this budget-friendly approach required about six months of searching for materials, three full weekends of work, and multiple trips to second-hand shops and charity stores. At this
Beyond the Studio: a Garden
Located in Tuscany’s Chianti countryside, my new studio has a cool additional feature. This was essential for me because I work a lot with more sustainable processes like chlorophyll, anthotype and botanical toning. We grow a lot of vegetable and evergreen plants. We have rosemary and sweet potatoes for toning, grapes, rocket salad, mushrooms, berries, wildflowers for anthotypes, monstera, aspidistra, philodendron, moneyplant and pilea for chlorophyll printing. There is also a lot of seasonal wild plants that I'm experimenting with. The garden is also great for breakfast and aperitivo for my workshops, it has become a serene backdrop for reflection, conversation and inspiration.


Yorumlar